How to Make Useful Items from Recycled Cardboard?
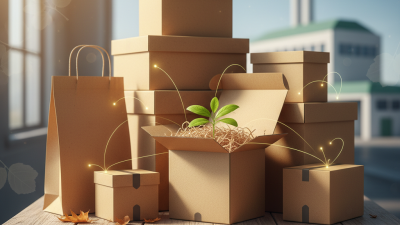
In recent years, the use of recycled cardboard has gained significant attention as a sustainable resource. John Smith, a leading expert in sustainable materials, states, "Recycled cardboard can transform waste into valuable items." This sentiment echoes the growing movement toward eco-friendly practices.
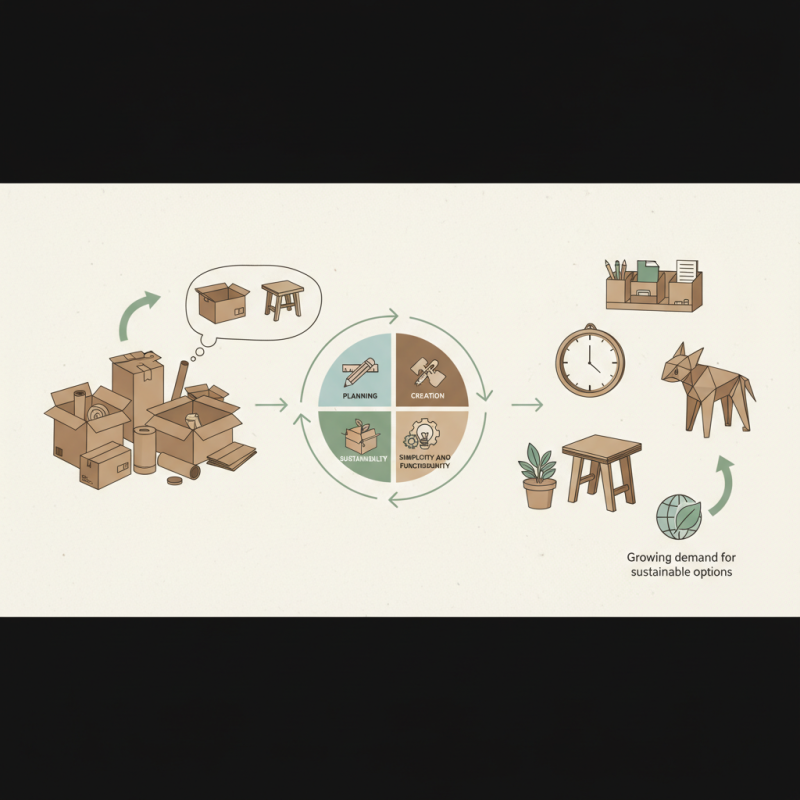
Creating useful items from recycled cardboard can be both a rewarding and challenging endeavor. People often overlook the potential of cardboard. With a little imagination, everyday waste can become functional and beautiful. From storage boxes to decorative art pieces, the possibilities are vast. However, it’s easy to start and not complete projects, reflecting a common struggle in DIY culture.
Many enthusiasts find themselves overwhelmed by complex designs. Simplicity often yields the best results. Ensuring that the item is truly useful is crucial. Careful planning helps avoid wasted effort. As the demand for sustainable options increases, exploring recycled cardboard's potential remains essential for creative minds.
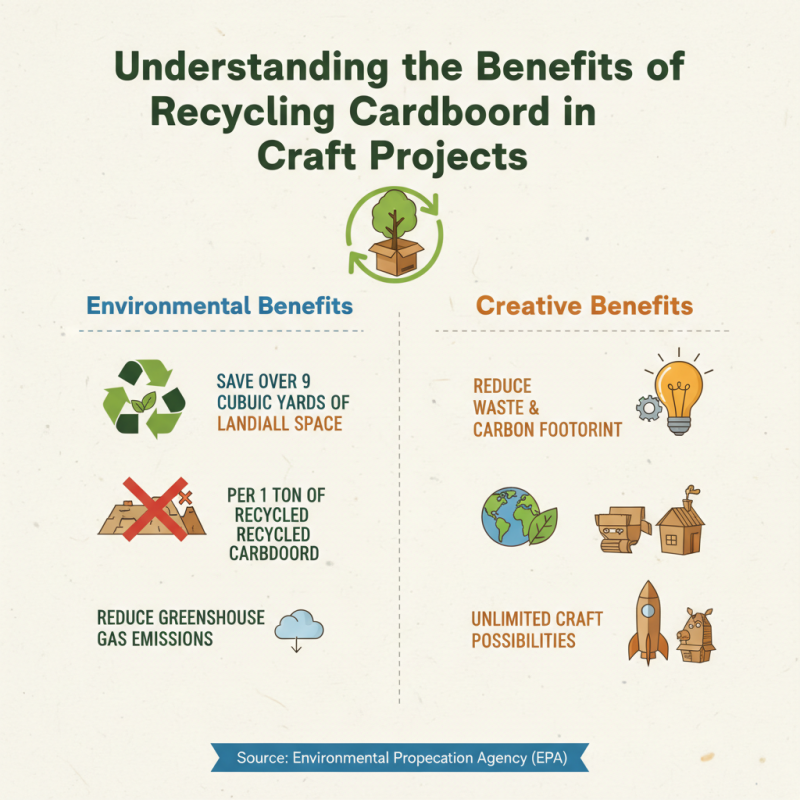
Understanding the Benefits of Recycling Cardboard in Craft Projects
Recycling cardboard offers environmental and creative benefits. According to the Environmental Protection Agency, recycling one ton of cardboard saves over 9 cubic yards of landfill space. This is crucial, as landfills contribute to greenhouse gas emissions. By repurposing cardboard, we reduce waste and our carbon footprint.
Crafting with recycled cardboard is an excellent way to engage in eco-friendly projects. Simple items like organizers or decorations can be made easily. Consider creating a wall art piece from leftover boxes. This not only adds unique decor but also showcases creativity. The process encourages problem-solving and resourcefulness.
However, there are challenges. The quality of cardboard varies, which can impact the final project. Some glued sections might not hold well. It's essential to test different adhesives to find what works best. Even experienced crafters may face hiccups. But these mistakes often lead to innovative solutions. Each project is a new opportunity to learn and rethink materials.
Essential Tools and Materials for Cardboard Crafting
When embarking on a cardboard crafting journey, having essential tools and materials can make a significant difference. A sharp utility knife is crucial for precise cuts. You might also want a cutting mat to protect your surfaces. Don’t forget a good adhesive, like glue or tape, to hold your creations together. Sometimes, the simplest tools yield the best results.
Scissors are another staple in your toolkit. They are useful for smaller cuts and detailed work. Rulers help ensure straight lines, while pencils let you sketch your designs first. It’s helpful to gather items like old magazines for decoration. Consider using paint or markers for personal touches, too. You may find yourself frustrated when projects don’t look as expected. That's normal. It’s important to learn from these moments.
One area to reflect on is material use. Not all cardboard is created equal. You may encounter thickness variations, which impact the final product. Experimentation is key. Some designs may collapse, while others hold well. Keeping an open mind allows you to embrace imperfections. Cardboard crafting is not just about the final item; it’s also about the experience of creating.
How to Make Useful Items from Recycled Cardboard? - Essential Tools and Materials for Cardboard Crafting
| Item |
Required Tools |
Materials Needed |
Estimated Time |
| Cardboard Organizer |
Scissors, Craft Knife, Ruler |
Recycled Cardboard, Glue |
1 Hour |
| Wall Art |
Paintbrush, Scissors |
Recycled Cardboard, Paint, String |
2 Hours |
| Toy Car |
Craft Knife, Paintbrush |
Recycled Cardboard, Bottle Caps, Paint |
1.5 Hours |
| Gift Box |
Scissors, Ruler, Glue |
Recycled Cardboard, Decorative Paper |
45 Minutes |
| Picture Frame |
Scissors, Ruler, Glue |
Recycled Cardboard, Decorative Ribbon |
1 Hour |
Step-by-Step Guide to Creating Functional Items from Cardboard
Creating functional items from recycled cardboard can be both fun and beneficial. Start with simple items like organizers or storage boxes. Measure and cut the cardboard carefully. Use a ruler for straight lines. Apply glue or tape to hold the edges together firmly. Be creative with the design.
Tips: Use old magazines or wrapping paper to decorate your cardboard items. Small embellishments can make a big difference.
Consider making a cardboard desk organizer next. Cut several pieces of cardboard into uniform sizes. Stack them to create compartments. Ensure everything is secure. Don’t worry if it looks a bit uneven. Embrace the imperfections. Each item will be unique and personal.
Tips: Always test the strength of your cardboard items before heavy use. If they feel flimsy, reinforce them with additional layers.
Remember, the goal is to repurpose while having fun. Each project is an opportunity to discover new techniques. Design should be functional but can also reflect your style. Happy crafting!
Creative Ideas for Repurposing Cardboard into Useful Household Items
Repurposing cardboard can be fun and practical. One great idea is to create drawer organizers. Cut cardboard into small sections. Use these sections to divide drawers for easy access. This method turns chaos into order. It’s simple and helps you find items faster.
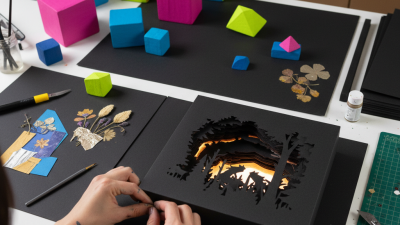
Another creative use is making wall art. Cut out shapes or letters from cardboard. Paint them in vibrant colors. You can arrange them in fun patterns on your wall. This project can brighten up a dull space. It’s expressive and personal, but can be tricky to get right. Not every piece will fit perfectly.
Consider making plant holders as well. Use small cardboard boxes and decorate them. They can hold small pots for herbs or flowers. However, cardboard isn’t waterproof, so protect it. It may not last long in damp conditions. Try using a plastic liner for better durability. These projects not only reduce waste, but also add unique touches to your home.
Tips for Personalizing and Finishing Your Cardboard Creations
Personalizing your cardboard creations can transform simple items into cherished decor. Start by selecting a unique design. Utilize stencils or freehand drawings to add character. Painting can enhance your project’s appeal, with eco-friendly paints gaining popularity. According to industry reports, the use of sustainable materials is projected to grow by 30% in the next five years.
Consider adding texture to your pieces. Try gluing fabric, wood, or other recycled materials. This method not only adds depth but also creates a tactile experience. Remember, don’t rush. Imperfections can tell a story, and flaws often add charm. A carefully placed smudge or uneven line may capture interest.
Finishing touches matter. Seal your project with a clear coating to protect it. Glossy or matte finishes can change the overall look dramatically. Research indicates that handmade goods often sell for 25% more when they feature thoughtful finishes. Take your time with details; small adjustments can lead to stunning results. It’s the journey of creating that makes these projects meaningful.